
Will LED Strip Lights Stick to Wood?
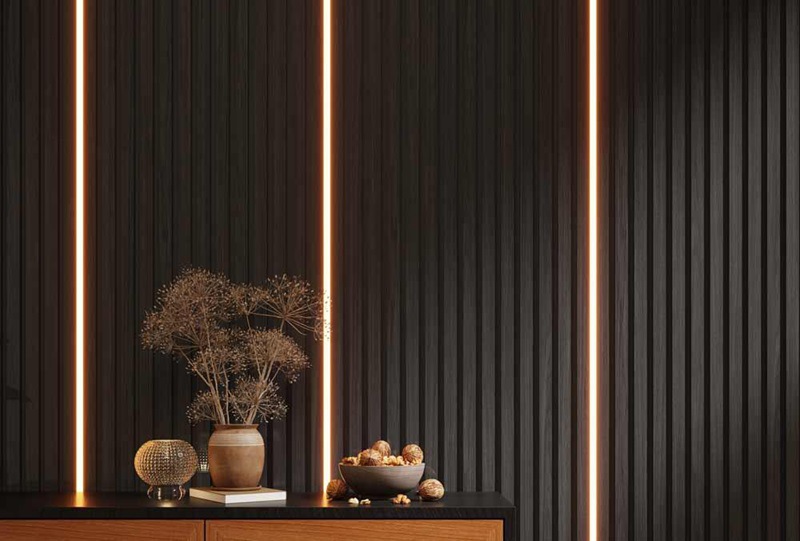
LED strip lights have revolutionized home lighting, offering versatility, efficiency, and a modern aesthetic. Whether you’re looking to enhance your living room, bedroom, or kitchen, these flexible lighting solutions can transform any space with ease. However, a common question that arises is: will LED strip lights stick to wood?
In this guide, I’ll explore the key factors that influence adhesion, share tips for preparing your wood surfaces, and provide a step-by-step installation process. Get ready to illuminate your home like never before!
Explanation of LED strip lights and their common uses
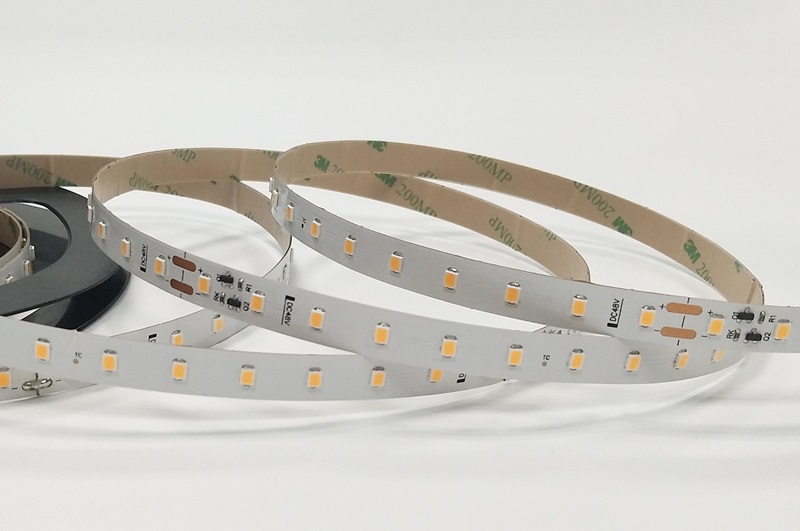
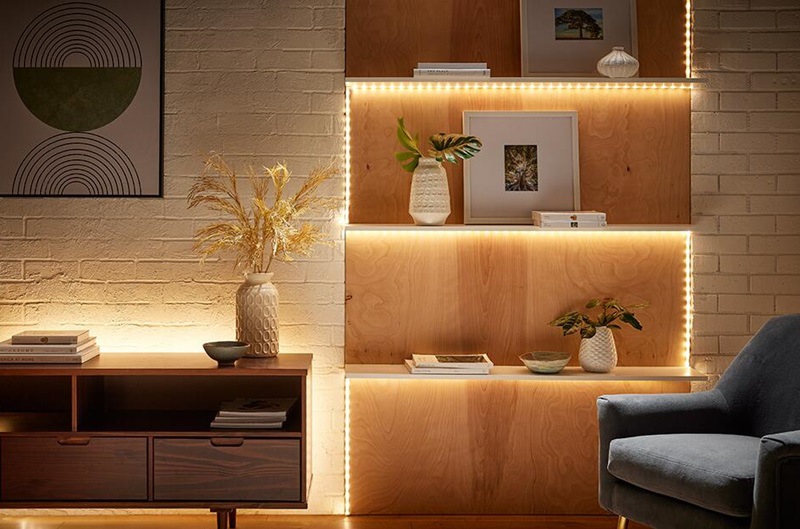
LED strip lights consist of small LED bulbs embedded on a flexible circuit board, covered by a protective layer. They are highly customizable, available in various lengths, colors, and brightness levels. Common uses include accent lighting, task lighting, under-cabinet lighting, and decorative purposes.
Characteristics of wood surfaces and how they might affect adhesion
Wood is a porous, organic material that can vary in texture and finish. Its surface can be smooth or rough, and it may be treated with paint, varnish, or left untreated. These characteristics influence how well adhesives can bond with the wood, affecting the overall adhesion of LED strip lights.
Different types of wood finishes
Painted wood:
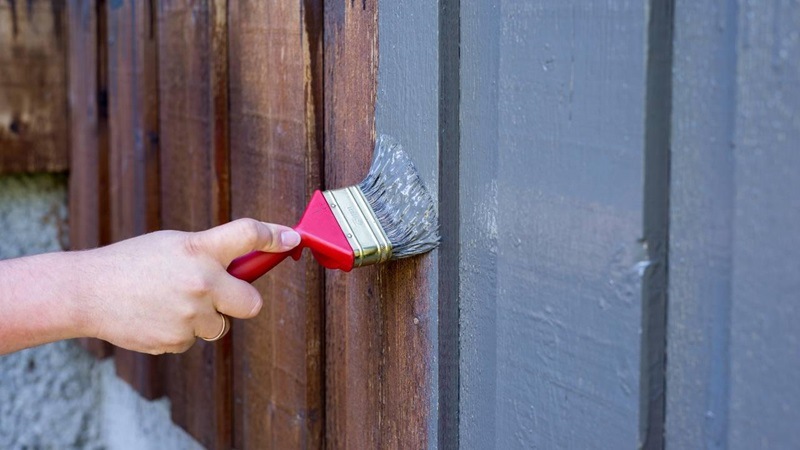
The paint creates a smooth, even surface that generally allows for good adhesion. However, if the paint is old or peeling, it can weaken the bond.
Varnished wood:
Varnish adds a protective layer that can make the surface slippery, potentially reducing adhesion. High-quality adhesive strips may be necessary.

Untreated wood:
This type of wood is porous and may absorb some of the adhesive, making it less effective. Additional adhesive support might be needed.
Adhesive Properties of LED Strip Lights
Overview of the adhesive backing on standard LED strip lights:
Most LED strip lights come with a pre-applied adhesive backing designed for easy installation. This adhesive is usually a pressure-sensitive type, activated by pressing firmly onto the surface.
| Adhesive Type | Usage Scenario | Adhesive Thickness mils (mm) | Adhesion to Stainless Steel (N/CM) | Application |
| 3M 200MP | General bonding for metal, plastic, and wood materials | 5.2 (0.13) | 7.0 N/CM | Indoor |
| 3M 300SLE | High-temperature bonding, automotive and electronics | 4.8 (0.12) | 8.6 N/CM | Indoor |
| 3M 9080 | Low surface energy bonding, plastics, and powder coatings | 12.8 (0.32) | 7.5 N/CM | Indoor |
| 3M VHB 4229 | Structural bonding for metal, glass, and high surface energy plastics, outdoor use | 30.4 (0.76) | 20.0 N/CM | Waterproof LED strips, outdoor use |
| Tesa 4965 | General bonding for metal, plastic, and wood materials | 8.2 (0.2) | 14.0 N/CM | Suitable for profiles with coatings |
| Blue Thermal Adhesive | Thermal adhesive for electronic components and LED strips | 5.2 (0.13) | 6.0 N/CM | Budget LED strips |
For more detail, please check: What's the best adhesive tape for led strip?
Different brands offer varying levels of adhesive strength. Some brands use industrial-grade adhesives that perform better on challenging surfaces, including wood. It's worth researching and choosing a reputable brand known for strong adhesive properties.
Factors Influencing Adhesion
Detailed discussion on factors that influence the sticking ability of LED strip lights to wood:
Temperature and humidity conditions: High temperatures can soften adhesives, while low temperatures can make them less sticky. Humidity can also affect adhesion, causing the wood to expand or contract.
Surface texture and smoothness: Smoother surfaces allow for better contact between the adhesive and the wood. Rough or uneven surfaces reduce the contact area, weakening the bond.
Weight and flexibility of the LED strip lights: Heavier or less flexible strips may pull away from the wood over time. Ensuring the strips are lightweight and flexible can improve adhesion.

Enhancing Adhesion
Additional methods to improve adhesion:
Using extra adhesives (e.g., double-sided tape, glue): Supplementing the pre-applied adhesive with high-quality double-sided tape or glue can enhance the bond. Ensure the additional adhesive is compatible with both LED strips and wood.
Employing mounting clips or brackets: For added support, consider using mounting clips or brackets specifically designed for LED strip lights. These provide mechanical reinforcement, keeping the strips securely in place.
Pros and cons of each method:
| Method | Pros | Cons |
| Extra Adhesives | 1. Stronger bond 2. Versatility in challenging conditions |
1. Potential mess 2. More time-consuming installation |
| Mounting Clips/Brackets | 1. Reliable support 2. Minimal risk of strips falling off |
May require drilling or permanent alterations to the wood |
Step-by-step guide to cleaning the wood surface
Proper surface preparation is crucial for achieving a strong bond between the LED strip lights and the wood. Clean, dry, and smooth surfaces ensure the adhesive can adhere effectively.
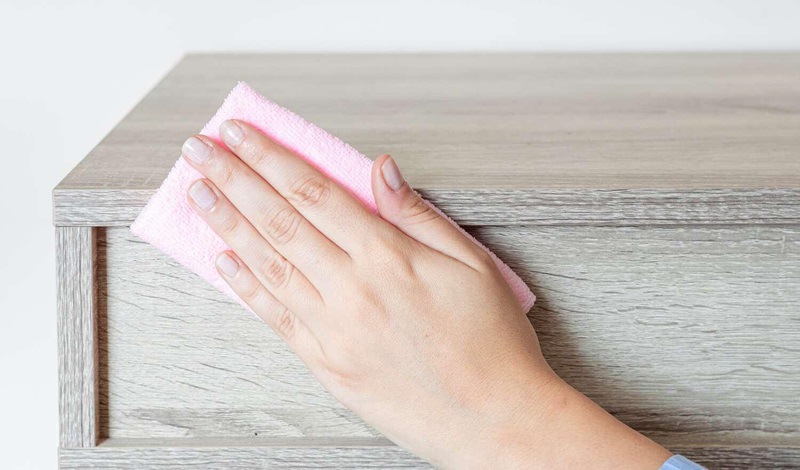
Removing dust and debris:
Use a clean, dry cloth or a soft brush to wipe away any dust or loose particles from the wood surface.
Using rubbing alcohol to eliminate oils and residues:
Dampen a cloth with rubbing alcohol and gently wipe the wood. This helps remove any oils, grease, or other residues that can interfere with adhesion. Allow the surface to dry completely before proceeding.
Tips for sanding or smoothing rough surfaces if necessary:
If the wood surface is rough or uneven, lightly sand it with fine-grit sandpaper. This creates a smoother surface for better adhesive contact. After sanding, clean the surface again to remove any dust particles.
Step-by-Step Installation Guide
Detailed instructions for installing LED strip lights on wood:
1. Measuring the wood surface: Measure the area where you intend to install the LED strip lights. Mark the starting and ending points to ensure accurate placement.
2. Cutting the LED strip lights to the required length: If necessary, cut the LED strip lights to fit the measured area. Use sharp scissors or a cutter, following the manufacturer's guidelines for safe cutting points.
3. Preparing the wood surface (cleaning, sanding if needed): Clean and prepare the wood surface as above.
4. Applying the LED strip lights carefully:

Peel off the adhesive backing slowly, a few inches at a time.
Press the strip firmly onto the wood, starting at one end and working your way to the other. Apply even pressure to ensure good contact.
Securing the strips with extra adhesive or clips if needed: If using additional adhesives or mounting clips, apply them as necessary to reinforce the bond.
FAQs
1. Can LED strip lights stick to all types of wood surfaces?
Yes, LED strip lights can stick to various wood surfaces, including painted, varnished, and untreated wood. However, the adhesion strength may vary depending on the surface texture and finish.
2. Do I need to use additional adhesives for LED strip lights on wood?
While the adhesive backing on LED strip lights is usually sufficient, using extra adhesives like double-sided tape or glue can enhance the bond, especially on rough or uneven surfaces.
3. How do I prepare a wooden surface for LED strip light installation? Clean the wood surface thoroughly to remove dust, debris, and oils. If necessary, sand the surface to create a smoother finish, then wipe it down with rubbing alcohol and let it dry completely.
4. What should I do if the LED strip lights start peeling off the wood?
If the strips start peeling, re-clean the surface and apply additional adhesive or use mounting clips for extra support. Ensure that the surface is dry and free from dust and oils.

5. Can I cut LED strip lights to fit my wood surface?
Yes, LED strip lights can be cut to fit your desired length. Use sharp scissors or a cutter, following the manufacturer’s guidelines for safe cutting points.
6. Can I use mounting clips or brackets for LED strip lights on wood?
Yes, mounting clips or brackets provide additional support and can help secure the LED strip lights, especially in areas where the adhesive may not be strong enough.
Conclusion
Properly installing LED strip lights on wood requires understanding both the characteristics of the lights and the wood surfaces. Preparing the surface by cleaning and sanding, if necessary, ensures optimal adhesion. Factors such as temperature, humidity, and surface texture play a crucial role in the sticking ability. Enhancing adhesion with extra adhesives or mounting clips can provide additional support. Following a detailed installation process and troubleshooting common issues ensures a secure and durable installation, allowing you to enjoy the transformative lighting effects in your home.
Can You Sleep With LED Strip Lights On?
The Ultimate Guide to SMD 2216 LED Strip Light in 2025
Related Article




Need an Instant Quote For Your Upcoming Projects?
Send us the details and we will get back to you within 12 hours.